Refresh the front lighting signature with purpose built hardware
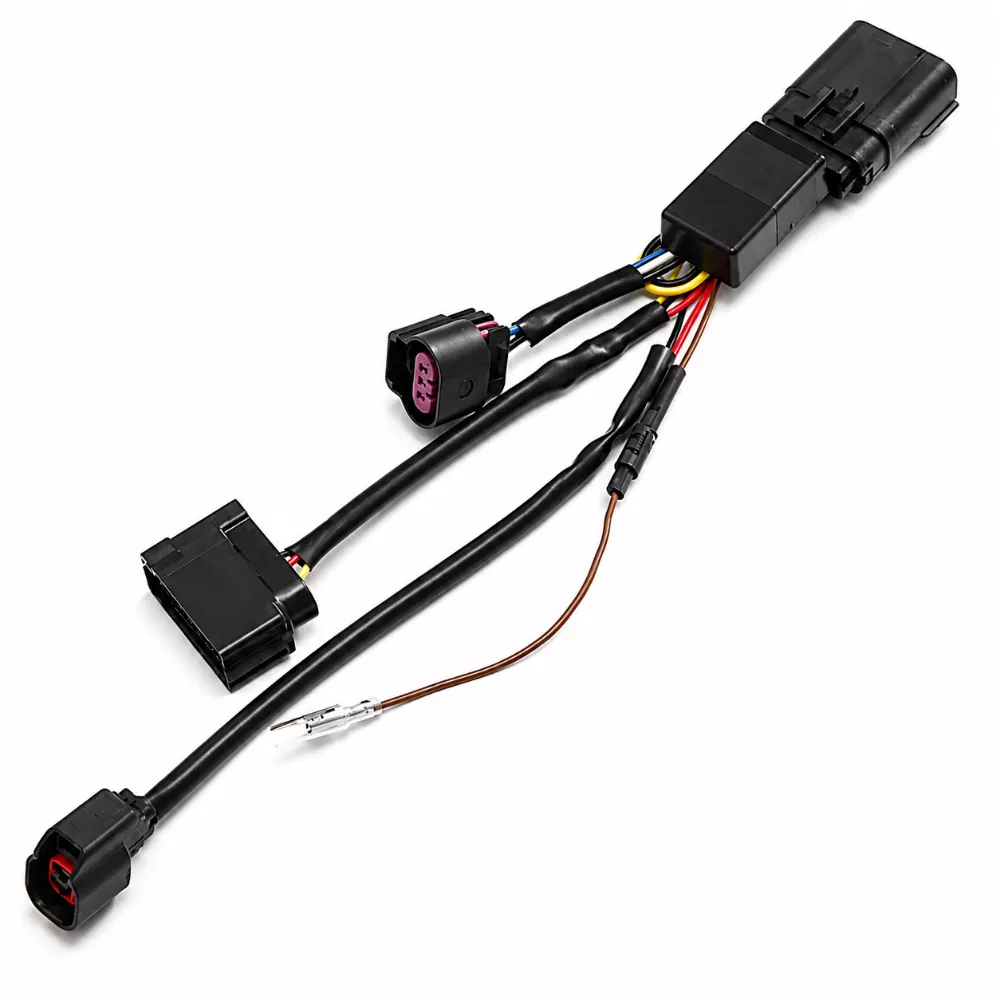
The ARX810054 is a stock LED projector headlight converter pair developed for the applications listed below. Confirm the year, make, model, and configuration before ordering.
Key Features
- ARX810054 application specific design. Converter pair for stock LED projector headlight applications
- Designed for 2017 to 2019 Ford Super Duty models
- Supports AlphaRex headlight compatibility
- Vehicle specific connector solution
- Confirm the original headlight type before ordering
- Pair format for left and right side installation
Vehicle Fitment
| Year Range | Make | Model |
|---|---|---|
| 2017-2019 | Ford | F-250 Super Duty |
| 2017-2019 | Ford | F-350 Super Duty |
| 2017-2019 | Ford | F-450 Super Duty |
| 2017-2019 | Ford | F-550 Super Duty |
Specifications
| Detail | Value |
|---|---|
| Product type | Headlight converter pair |
| Vehicle application | 2017 to 2019 Ford F 250, F 350, F 450, and F 550 Super Duty |
| Original headlight type | Stock LED projector |
| MPN | ARX810054 |
| UPC | Not listed by manufacturer |
What’s Included
- The ARX810054 lighting component
- Vehicle specific connectors or hardware where supplied
- Installation information where supplied
About AlphaRex
AlphaRex develops adapters and converters to help its lighting products connect cleanly with compatible factory headlight configurations.
Frequently Asked Questions
What is the ARX810054?
The ARX810054 is a stock LED projector headlight converter pair for the listed application or compatible project. Use the specifications and fitment table to confirm that the dimensions and vehicle details match your build.
How do I confirm this part fits my vehicle?
Match the year, make, model, configuration, dimensions, and original equipment details in the fitment table before ordering.
Can I install this at home?
A qualified home installer can complete the work with safe vehicle support, the correct tools, and the service information. Seek professional help when access or electrical testing creates a safety concern.
Do I need special tools?
A torque wrench and normal service tools are recommended. Exhaust fabrication may require cutting and joining equipment, while lighting work may require trim tools and electrical test equipment.
Will an alignment be needed?
Brake, intake, lighting, lug nut, damper, and exhaust component installation does not normally change wheel alignment. Inspect the vehicle if related suspension work is performed at the same time.
What should I check before ordering?
Verify the fitment years, model, configuration, thread size, dimensions, connector type, and clearance requirements against the vehicle and the specifications above.
Does this replace the factory part directly?
The listed component is application focused, but surrounding hardware and vehicle configuration can vary. Compare the original part and follow the manufacturer installation guidance.
What warranty applies?
Review the manufacturer warranty terms for the exact part and keep proof of purchase. Coverage can depend on approved installation, vehicle use, and the condition of related components.
What if my vehicle has aftermarket parts?
Compare the modified vehicle with the listed application and check clearance, connector compatibility, and surrounding hardware before ordering.
Install Instructions
- Confirm the original headlight type and vehicle application before disassembly.
- Disconnect the battery and remove the factory lighting components using the vehicle service information.
- Compare the new component and connectors with the original parts before final installation.
- Install the lighting components and route wiring away from heat and moving parts.
- Reconnect the battery and test low beam, high beam, turn signal, and daytime running light functions.
- Aim the headlights according to local requirements after installation.