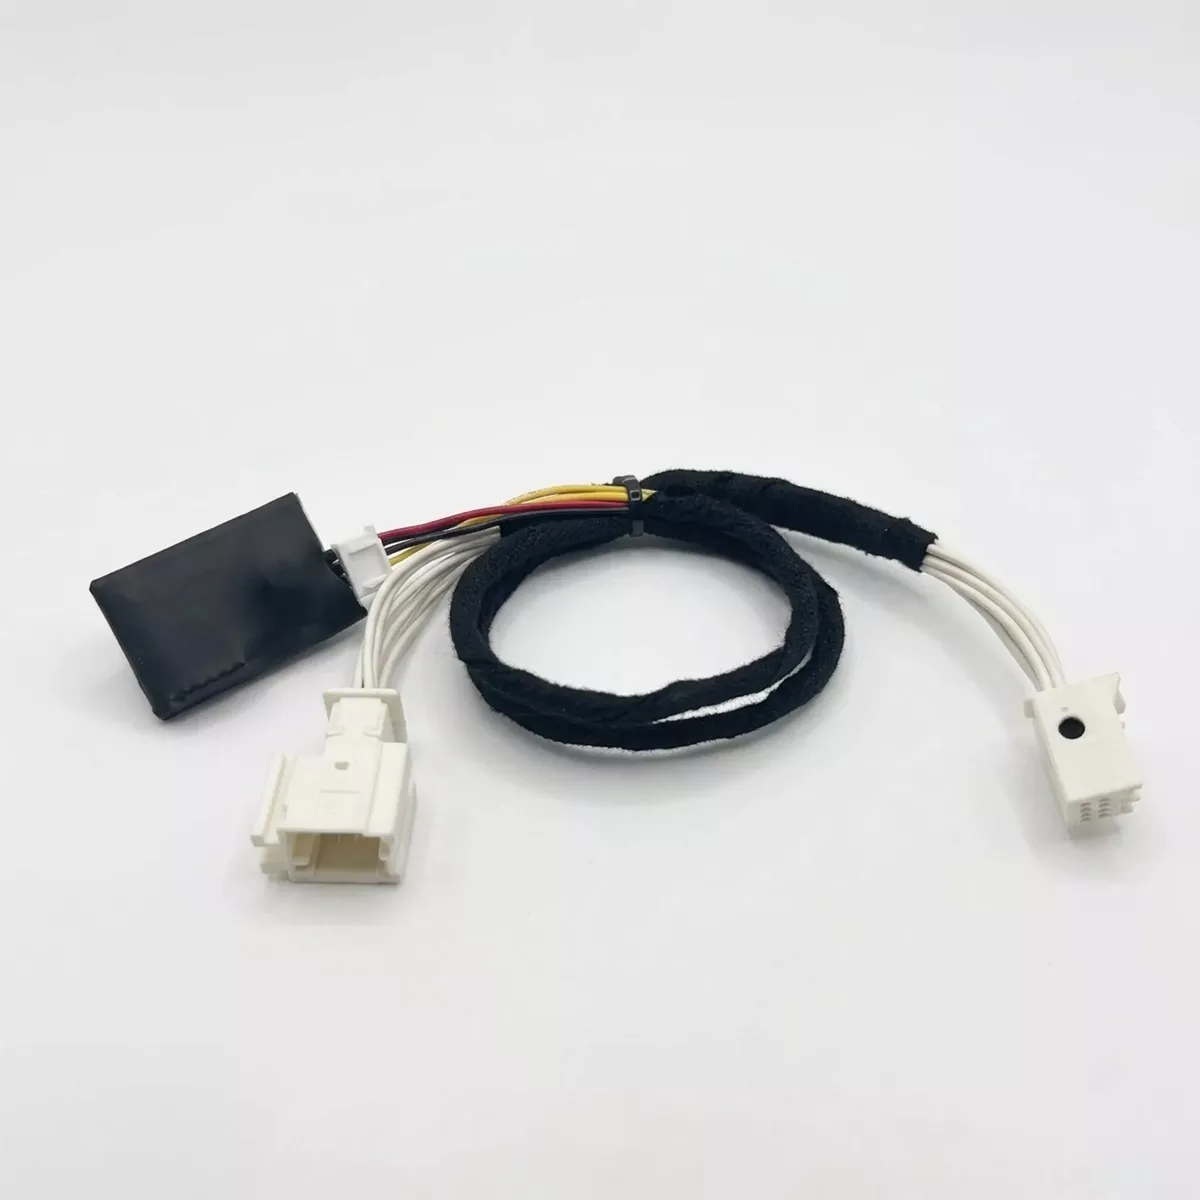
The Mid City SmartIdle Stand Alone High Idle for 2014-2018 Mercedes Sprinter Vans (SMRTIDLE) from Nomadic Supply Company® delivers professional-grade engine management technology that automatically increases idle speed when your Mercedes Sprinter requires additional power for accessories or climate control. This advanced stand-alone system integrates seamlessly with your vehicle’s existing electronics to provide reliable high-idle functionality without complex installations or permanent modifications.
Designed specifically for Mercedes Sprinter vans, the Mid City SmartIdle Stand Alone High Idle for 2014-2018 Mercedes Sprinter Vans (SMRTIDLE) offers precise control over engine idle speed through intelligent monitoring of various vehicle parameters. The system activates automatically when conditions warrant increased idle speed, ensuring optimal performance for power-hungry accessories while maintaining fuel efficiency during normal operation.
Professional installers and DIY enthusiasts alike appreciate the straightforward installation process and robust construction of the Mid City SmartIdle Stand Alone High Idle for 2014-2018 Mercedes Sprinter Vans (SMRTIDLE). This reliable solution eliminates the guesswork from idle management while providing the consistent power delivery your Sprinter needs for demanding applications and extended stationary operation.
Mid City SmartIdle Stand Alone High Idle for 2014-2018 Mercedes Sprinter Vans (SMRTIDLE) Features:
- Intelligent Engine Management: Automatically adjusts engine RPM to provide the necessary power for high-draw electrical systems and high-efficiency HVAC operation.
- OEM-Style Control: Integrates with the factory vehicle architecture, allowing for precise idle management using existing vehicle parameters.
- Stand-Alone Reliability: Functions independently without requiring complex multi-system installations, ensuring consistent power delivery for demanding applications.
- Non-Invasive Installation: Engineered for a straightforward setup that integrates seamlessly with existing electronics, keeping the vehicle’s electrical integrity intact.
- Warranty-Safe Integration: Designed to maintain the factory warranty by avoiding permanent modifications or destructive wiring changes.
Mid City SmartIdle Stand Alone High Idle for 2014-2018 Mercedes Sprinter Vans (SMRTIDLE) Specifications:
- Vehicle Compatibility:
- 2014–2018 Mercedes-Benz Sprinter
- 2014–2018 Freightliner Sprinter
- Engine Requirements: Compatible with 4-cylinder and 6-cylinder Diesel models only.
- Note: 4-cylinder models require an additional OBD programmer for activation (available as a configurable add-on).
- Module Limitations: Not compatible with vehicles equipped with a factory PSM (Parametrizable Special Module).
- Note: If a factory PSM is present, it must be physically disconnected for the SmartIdle system to function.
- Activation Logic: Monitors vehicle state to engage high idle automatically when specific electrical or thermal conditions are met.
- Construction: Robust, automotive-grade hardware designed for professional and commercial use.
Mid City SmartIdle Stand Alone High Idle for 2014-2018 Mercedes Sprinter Vans (SMRTIDLE) Instruction Guide:
Here are the easy-to-follow installation instructions for the Mid City Engineering SMRTIDLE system. This system allows for professional-grade engine management and high-idle control on the W906 chassis.
Phase 1: Dash Disassembly & EIS Access
- Remove Lower Dash Panels:
- Unscrew the three T25 screws located along the bottom edge of the driver-side under-dash panel.
- Gently pull the smaller left-side panel to release the clips, then remove the main lower dash panel and set it aside.
- Access Ignition Cylinder (EIS):
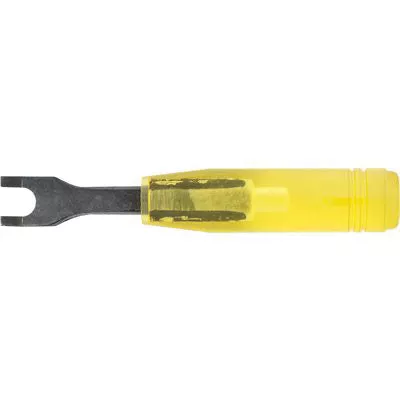
- Using an EIS removal tool, unscrew the outer retaining ring from the ignition switch.
- Push the ignition cylinder back through the dash and pull it down into the footwell area to access the wiring.
- Disconnect OEM Plugs: Unplug the black 5-pin plug and the white 8-pin plug from the rear of the EIS unit.
Phase 2: T-Harness Installation
- Connect to EIS: Plug the female 5-pin and 8-pin connectors from the provided Mid City T-harness directly into the back of the factory EIS unit.
- Complete the Loop:
- Connect the male 5-pin and 8-pin connectors of the T-harness into the original factory plugs you removed in Phase 1.
- Ensure all clips “click” into place to prevent communication errors.
- Grounding: Locate a factory grounding bolt near the A-pillar or driver-side kick panel. Secure the black ground wire from the harness to this bolt.
Phase 3: Configuration & Switch Mounting
- Mount the Activation Switch: Drill a 3/4″ hole in a convenient location on the dash and mount the provided toggle switch.
- Connect Switch: Route the switch wiring to the SmartIdle module and plug the 4-pin connector into the matching port on the module.
- RPM Setup:
- By default, the system is set to a specific high-idle RPM (typically 1500 RPM).
- If your kit includes an OBD programmer, plug it in briefly with the ignition ON to flash the high-idle software to the vehicle’s engine control module.
Phase 4: Testing & Operation
- Activation Steps:
- Start the engine and ensure the vehicle is in Park with the Parking Brake engaged.
- Flip the toggle switch to the ON position. The engine RPM should rise to the preset level.
- Adjusting RPM: While high idle is active, you can typically use the Cruise Control stalk (tap Up or Down) to fine-tune the engine speed.
- Safety Shutdown: Tap the foot brake or move the gear selector out of Park. The system should immediately return the engine to a standard idle.
Final Steps
- Secure the Module: Use zip ties to secure the SmartIdle module and excess wiring away from the steering column and brake pedal assembly.
- Reassemble Dash: Slide the EIS back into position, tighten the retaining ring, and reinstall the lower dash panels and T25 screws.
- Start the engine and ensure the vehicle is in Park with the Parking Brake engaged.
- Flip the toggle switch to the ON position. The engine RPM should rise to the preset level.
- Secure the Module: Use zip ties to secure the SmartIdle module and excess wiring away from the steering column and brake pedal assembly.
- Reassemble Dash: Slide the EIS back into position, tighten the retaining ring, and reinstall the lower dash panels and T25 screws.